A blog dedicated towards architectural refinement of buildings and environments in which we live, work, and play. Chiefly this is brought about by the author with finish carpentry at heart, and many other disciplines radiating or spinning off from it.

Tuesday, December 29, 2009

Fifth Street Espresso Bar

I recently painted the coffee shop inside the Historic Federal Building in Pueblo, Colorado. With a new tenant it is back in business late in autumn. Here are some before, during, and after photographs of the process with notes:

100_6425

100_6423

100_6426

100_6430

orange red

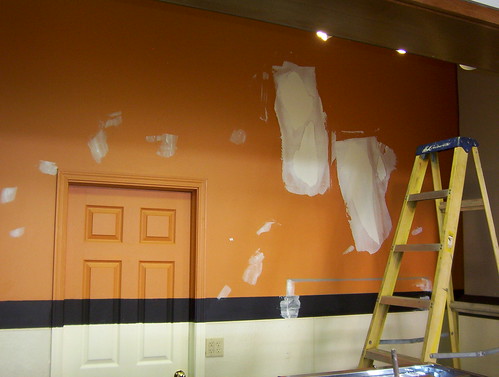
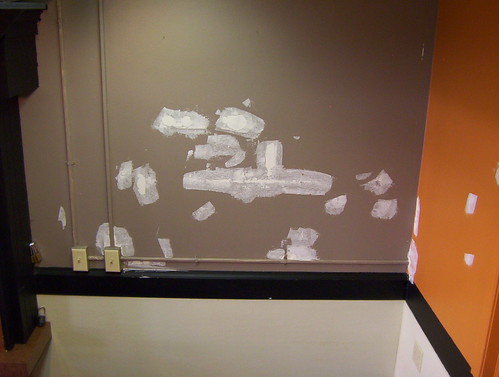
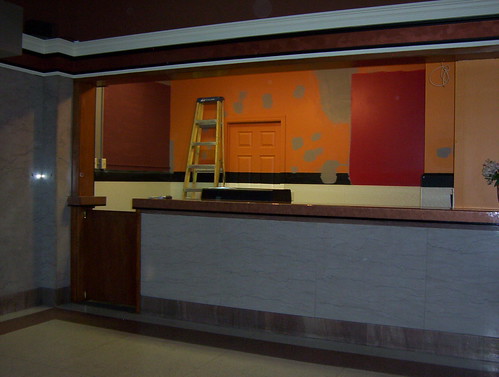
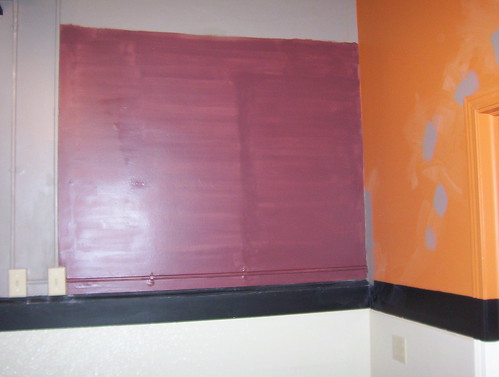
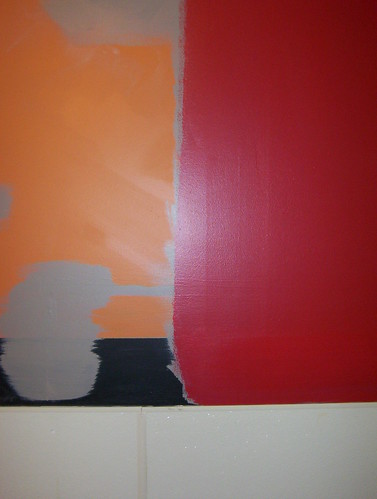
Previously it had been painted orange. There was paper damage to the sheet rock where something had been pulled down. It had double-sided stick adhesive tabs that would not let go. So I floated that over with broad knife, setting mix and primed it. The result looked like some kind of confused Robert Motherwell painting. A dark red of the owner's choosing was put up as a sample. I also put up a sample that was a dark cherry for comparison and contrast.

100_6450

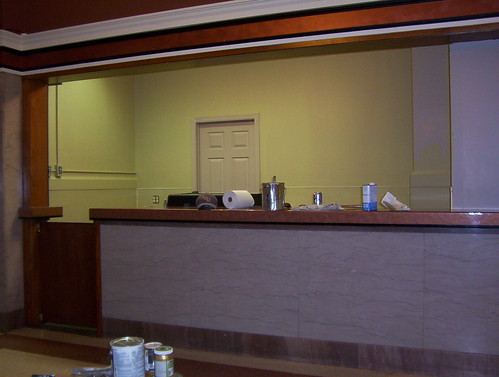
I primed over all those when a dark metallic green was chosen out of Ralph Lauren's paint. (There is an accent of Modern Masters copper metallic done in a band above with random brush strokes.)

100_6454

After the first coat.

100_6470

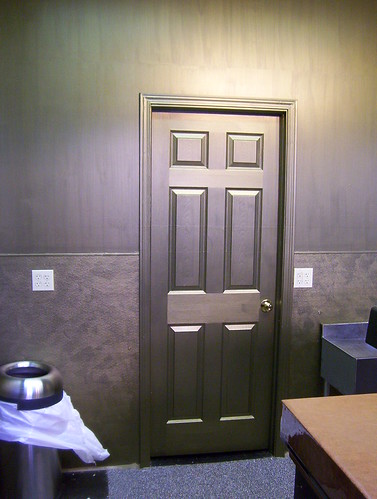
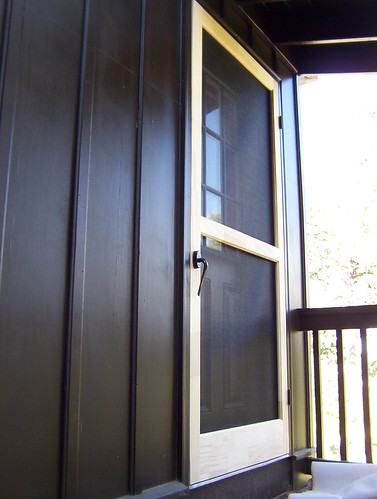
Then I brushed the door and randomized the FRP panel that ran up to the chair rail.

100_6469

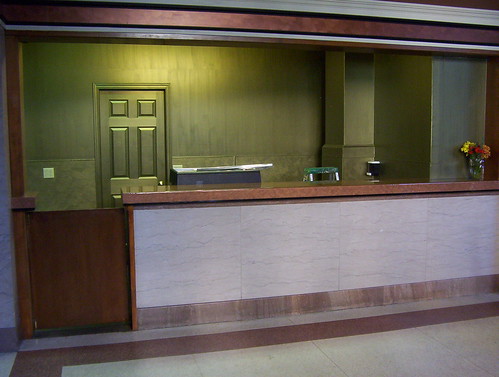
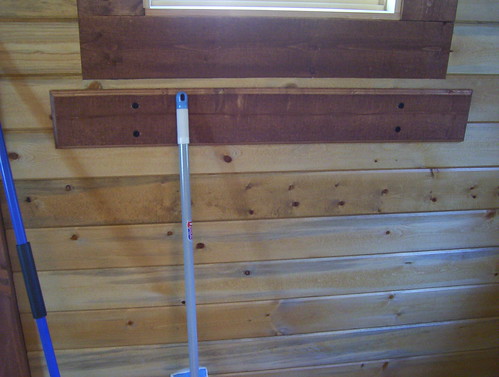
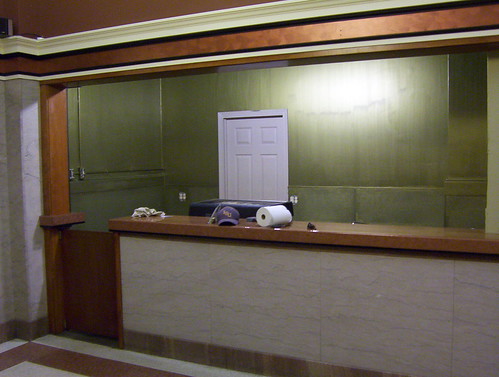
To effect a sort of delineation I tried a trick with some Frog-tape at a line parallel to the bottom of the header above the bar at 7'6" high. The owner wanted the texture to be single brush strokes and I couldn't figure how else I would straighten it up, sophisticate it (or even accomplish that) for a wall that ran up nine more feet above the chair rail. I brushed up to that, over-lapping the tape. Then taped to the bottom edge after that dried. Then I removed the top tape, and brushed down overlapping the new tape with the help of two ladders and a plank at about five feet high.

100_6476

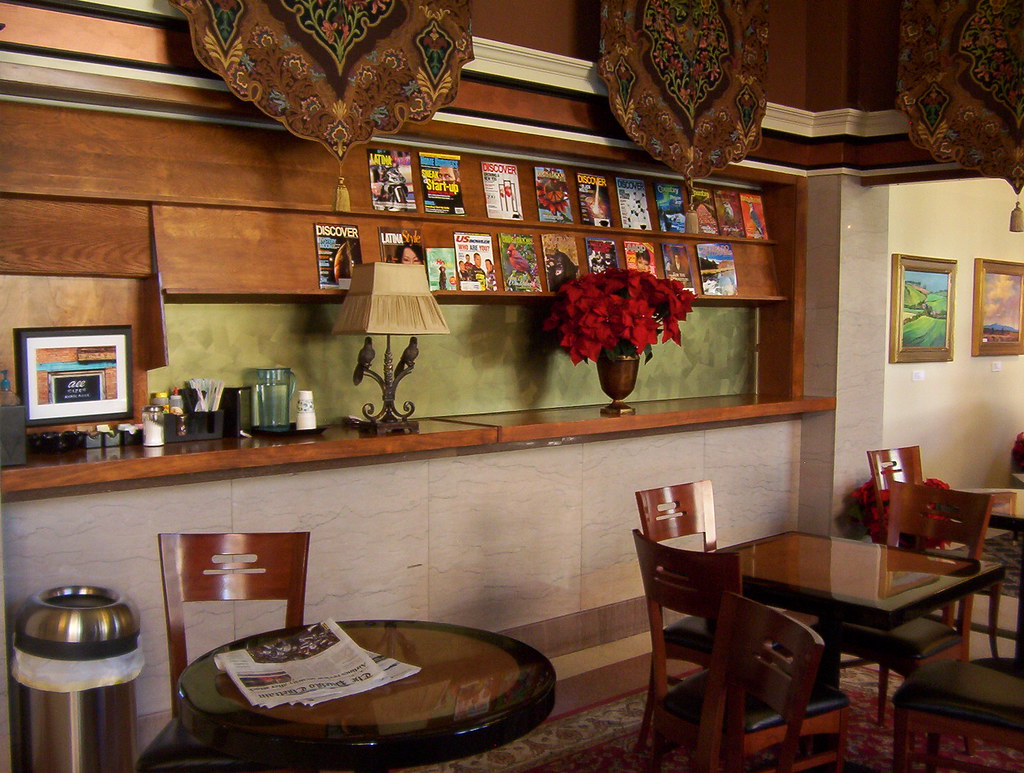
I randomized the magazine rack, perhaps getting a little too strict with the linearity. Everything else was curviliniar. I think it breaks things up though.

100_6501

100_6500

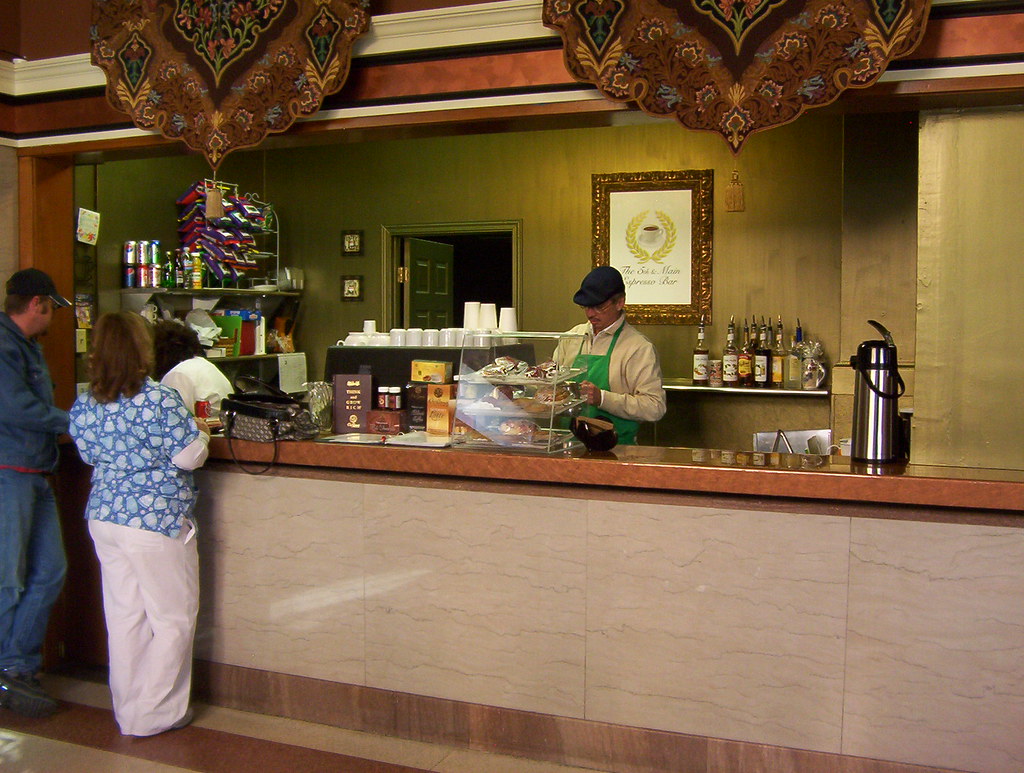
After the owner, Todd Pasquin, put up decorative tapestries and the new tenants, Jacob and Cecilia moved in.

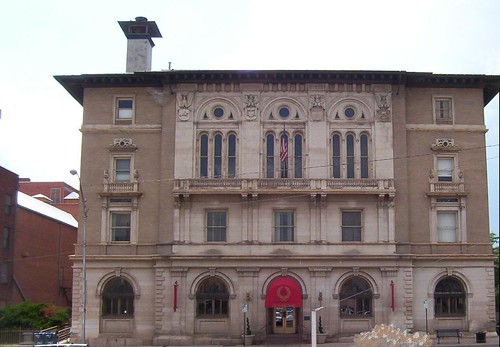
I took some additional photos of the Fifth Street Gallery that Starworth Properties leases out. It is my hope that I can assist in promoting it's increased use, and possibly expanding it in the future.

100_6502

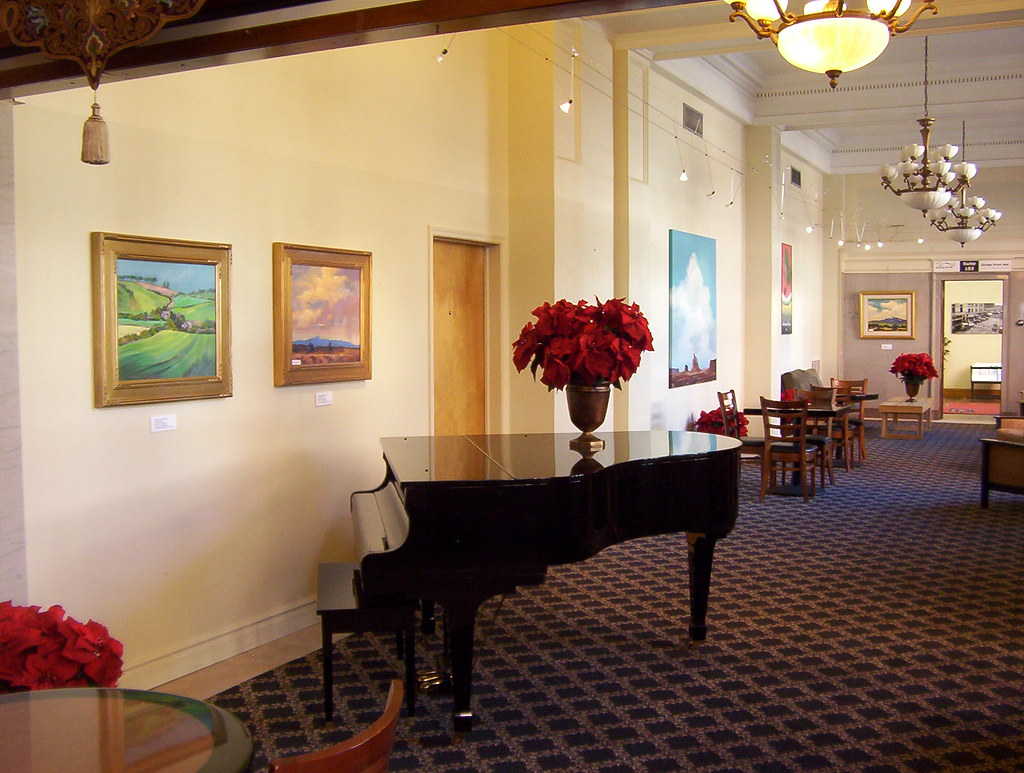
The additional treat of a baby grand piano at present.

100_6504

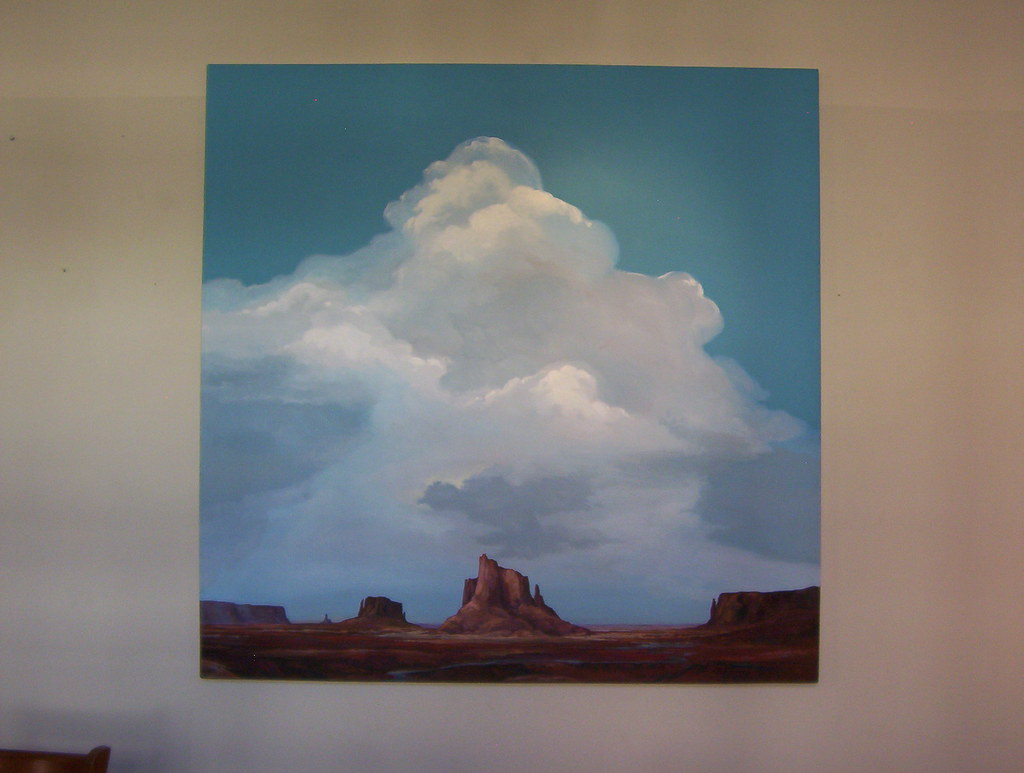
A painting by one of the artists whom keeps a studio on the second floor, Robert Wands.

100_6503

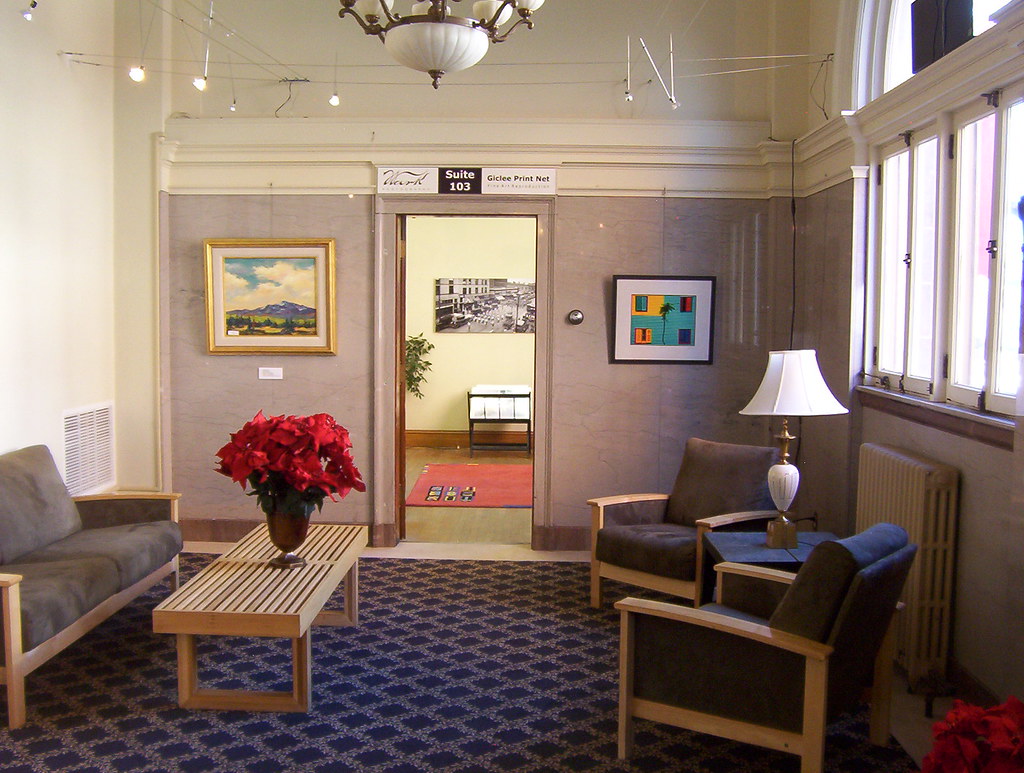
The marble-cased end wall to the old post office, and the entrance to John Wark's Giclee print shop. He leases the giant sorting room on the main floor in the "new" part of the building built during the 1930's, and turns a healthy business here reproducing all manner of two-dimensional artworks and photography.

100_6505

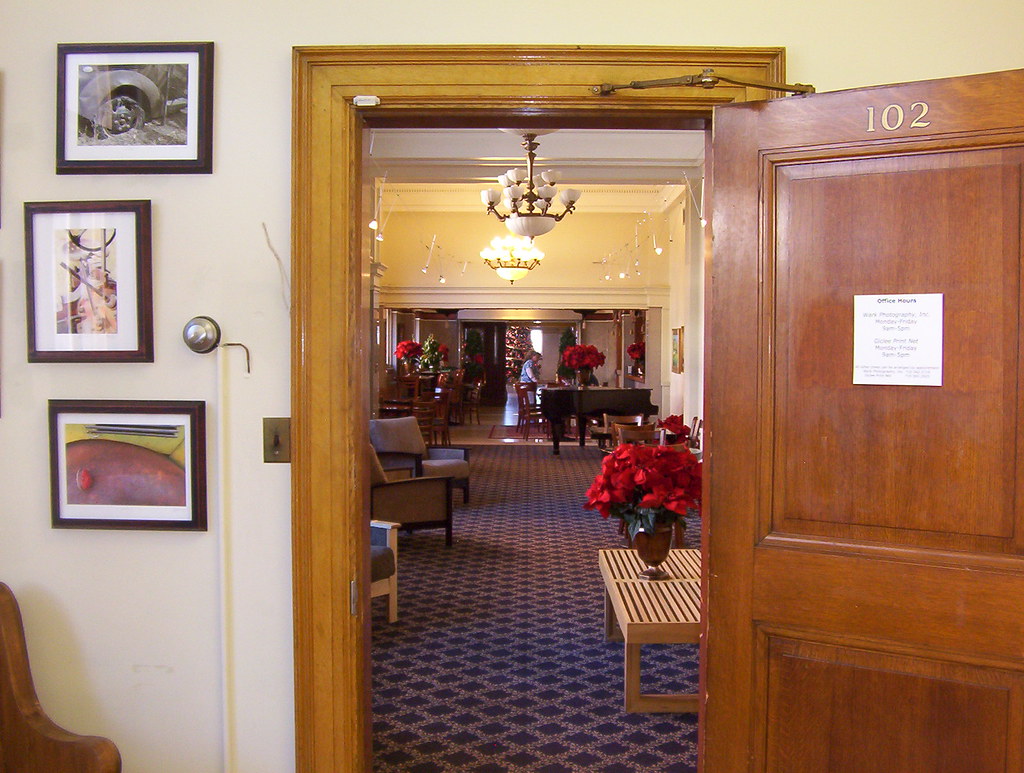
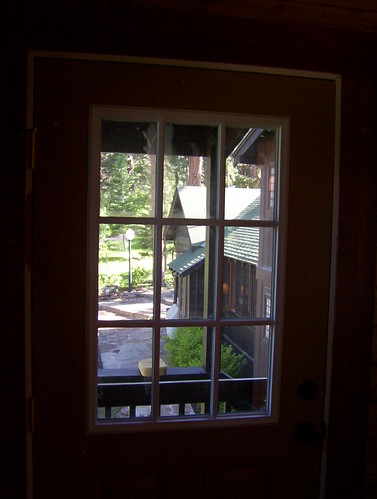
The long look back through that same door. You can just make out the tall Christmas tree in the east part of the lobby. It's quite a wonderful space kept with loving care by the owner.

Wednesday, December 23, 2009

Art Gallery Space Expansion Sketches

I've drawn up some sketches of an expansion plan to The 5th Street Gallery, which is set up in the Historic Federal Building. It would incorporate parts of the old Post Office lobby that was the access to the mail boxes. It would mean either acquiring or building portable, collapsible walls, seven that would be freestanding except for attachment to one side at the pilasters, and seven that would cover the old post office box walls, making that area usable for exhibition. The usable space would be approximately 1,900 square feet total. The space is also quite well lit during the day by the high ceiling, but some sort of lighting will have to be introduced for any presentation in the evening.


Monday, August 10, 2009

"Free" Stone Masonry~ Surveying For Google Earth Modelling

In re-assignment to work on the Historic Federal Building in Pueblo, Colorado I found that there were no corresponding American Institute of Architect models of buildings. This does not compare well to even one town further north, Colorado Springs, which has many only in the Google Earth programming online.

To that effect, I am trying to D-I-Y a model drawn up with the skills I have accrued in drawing with Google Sketchup 6. If there are any interested parties whom would like to assist in this project I am be able to share some of the information from the blueprints to which I have access. The past two weeks my spare time has been devoted to scanning some of these blueprints at our local Kinkos. They's been instrumental in re-assessing all the free masonry for which there are no working drawings. From four elevation drawings I have found that there are 30 individual styles of stonework. Some recurring in use, some bespoke, such as the eagle figures over shields or chevrons above the Main Street entrance. It will be my attempt to catalogue all these on the building , draw them accurately, faithfully, and maybe write a book about the whole inventory process. Perhaps someday such information may be useful towards cast stone replication.

Below are my intial efforts in drawing of some of the cornice work. (Yesterday before sunset I was even up on an extention ladder verifying measurements to get some of the mysteries solved.)

East Elevation Photo

A mid-summer portrait in the early afternoon from the east.

East elev on light paper

An improvised photograph of one of the renderings in the basement file, probably dating back to when work was done to add onto the building during the 1930's.

East Elevation

A photo import from my Google Sketchup drawing showing attempts to use cut and paste imposition. The camera distortion proved to be to great at this juncture.

East Elevation

My first side-by-side comparisons of all three, contemporary photo, photo of rendering, and Sketchup drawing. From the ground up this must be what it is like to begin writing a novel.

HFB Stone Details 001

The intensity of the first targetted area, the first floor cornice banding with the second floor.

Detail 11

Rudimentary first sketch incurring questions of distorted dimensions.

Detail 11 b

Second sketch after verification, incurring even more desire for clarity!

Monday, June 8, 2009

Final Stage ~ Finish Out, Cuerno Verde Estates

With the last load of panelling stained we finished out the job. There were quite a few more angles to work out.

100_5983

The valley rafters were capped with rough-cut pine stained a cherry color, the same as the floor.

100_5978

(Convergence of the valley rafters above.)

It is a challenge to try and depict it with photography because the end feeling is like a cozy tent made of wood.

100_5970

The point at which the three rafters merge with the shed roof to the southeast proved to be a puzzler resolved with creative trial-and-error framing, leaving a triangular cubby hole.

100_5972

This swing-arm wall sconce will make a cozy reading lamp some late evening.

100_5986

100_5989

I got to put a decorative edge on a plank to be used for hanging coats.


100_5990

100_5988
(View out the door to the rest of the house.)

We also hung a wooden screen door...

100_5953

...and built a potting bench out of rough cedar...

100_5948

100_5947

...and put it in where the client wanted to have it for work on her gardening.

100_5952

Friday, May 22, 2009

Guestbook

Please sign my guestbook. Visitor's interest in what I have put up here, and where they are located also interests me.

Saturday, May 16, 2009

Finishing Work

This year I was called in by a co-worker I'd met on a job more local to me last year. We'd worked on an addition near the San Isabel National Forest for a general contractor. With gasoline prices soaring at the time I'd decided to get more local work even if it meant a cut in pay. It would last off and on from April to September of 2008. He'd stop sub-contracting with this general contractor about the stage of installing windows. I would hang on until a little after the painting stage had been completed. Throughout the winter we would intermittently work together for another remodeller in refurbishing foreclosure homes for rental. It was quite a surprise to get a call to help finish this addition out. Suffice it to say it did not get finished by the previous contractor for one reason or another. We were given a chance at remedying that.

I proceeded to draw up some sketches to facilitate it. We would be changing the sheetrock ceiling in removing it and putting in decorative beams under the rafters. It seemed quite simple and made me wonder why these could not have been installed during the basic roof framing stage. After demolition of the sheetrock some insulation was installed. The frame was bolstered where the beams would sit, creating a beam saddle of sorts high over the windows.

100_5842

100_5844

100_5856

Stringline would give us approximate positioning, intersection points, and visualization if clearances needed to be removed from the rafters along it. With one extra hand we levered them up and fastened them with timberlock screws. We opted for a small housed joint at the center, then drilled it for the ceiling fan wiring and light that was previously installed.

100_5857

100_5860

100_5862

100_5865

Beforehand we had hauled the beams and panelling up into the addition to condition for two weeks before staining it on a sunny day outside.

Panelling and Beams

100_5847

100_5848

100_5845

100_5852

This photo above features some of the blue mineral stain of "Beetle Kill Pine" before receiving a conditioner and Puritan Pine Minwax stain.

100_5851

Toward the end of the day we ran out of saw horse space, the drying time slowing after the sun went over the mountain.

100_5853

The compound angle at which the panelling edges would be cut was only half a degree off the sketch. This would be where the gables intersected each other at the valley rafter.

Rick's Addition ~ frame study Mar 24, 2009chopangles

Rick's Addition ~ Interior panelling Mar 28, 2009

Where these gables met a deflecting curve was found on one one of the valley rafters. The stringline would again be used from the top to the knee wall to have something to follow, and to compensate for more exact lengths. A test block was also made to help find the actual fitting point or compensate for any final deviations.

100_5898

100_5893

The first few boards above.

100_5900

The view from the bottom upward. I took a pencil and marked a dotted line underneath the stringline. It was perhaps 3/4 of an inch at it's maximum.

100_5884

The view from the top downward.

100_5890

The chop saw set up. We'd have to reset positions a few times to accomodate the installation platform.

100_5902

Going up one side.

100_5908

Going up the other.

100_5915

Finishing out one cubby hole. (The joint at the valley rafter will later get covered with two rough pine boards stained the beam color.)

100_5917

Finishing out the entryway.

Share Button

Share/Bookmark

About Me

Sculptor, Designer, Resides in Southern Colorado, USA. age 62. Interested in mould-making and casting, public or outdoor sculpture presentation, and space or environments in which to present them.

Labels

My Guestbook

Facebook Verification Widget